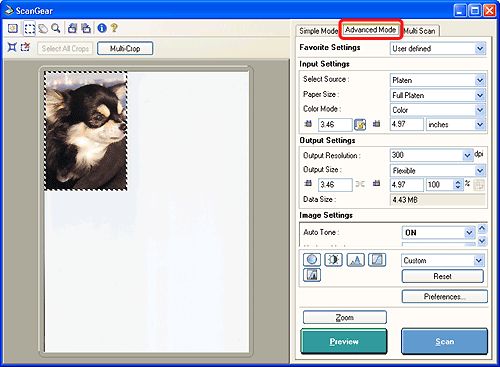
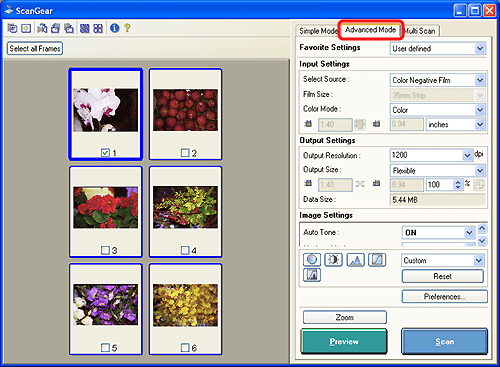
| Advanced Mode Functions |
| The Advanced Mode allows you to set detailed settings, such as color mode, resolution, brightness and color tone. |
| Platen Preview |
| When [Platen] is selected in [Select Source]: |
|
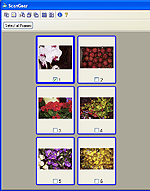
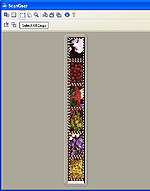
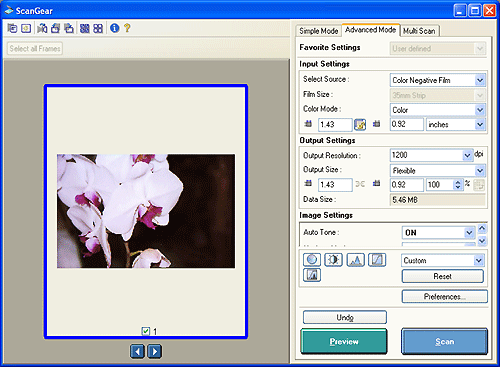
| Film Preview | ||||||
| When [Color Negative Film], [Color Positive Film], [Monochrome Negative Film], or [Monochrome Positive Film] is selected in [Select Source]: | ||||||
|
||||||
 |
||||||
| Toolbar | ||||||||||||||||||||||||||||||||||||||
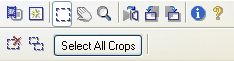
| Platen Selected in [Select Source] | ||||||||||||||||||||||||||||||||||||||
 |
||||||||||||||||||||||||||||||||||||||
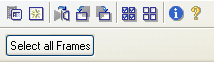
| Film Selected in [Select Source] (Thumbnail Display On) | ||||||||||||||||||||||||||||||||||||||
 |
||||||||||||||||||||||||||||||||||||||
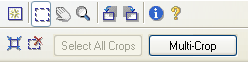
| Film Selected in [Select Source] (Thumbnail Display Off) | ||||||||||||||||||||||||||||||||||||||
 |
||||||||||||||||||||||||||||||||||||||
|
| Preview Area |
| The preview area is where trial images are displayed after [Preview] has been clicked. You can create cropping frame(s) to scan only the portions of the image required. |
| For details: Cropping Frame in Preview Area |
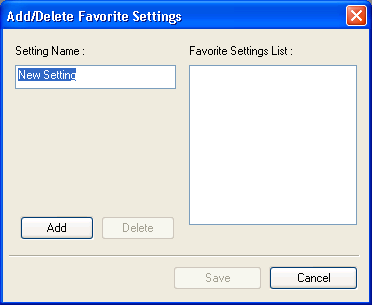
| Favorite Settings |
| You can name and register a set of settings for the cropping frame or for a thumbnail (Input Settings, Output Settings, Image Settings and settings set with the color correction buttons). You can also recall the settings and apply them to a different cropping frame or thumbnail. In addition, you can reset the settings to their default values. |
| Add/Delete Favorite Settings | |||||||||||
| Select [Add/Delete] from the pull-down menu. The [Add/Delete Favorite Settings] window will open. | |||||||||||
 |
|||||||||||
| Specify the name for a new setting and click [Add] to register it in [Favorite Settings List]. Click [Save] to select the settings from [Favorite Settings]. Click [Default] to return to default. | |||||||||||
|
|||||||||||
| Input Settings |
| The input settings such as [Select Source] and [Paper Size] set the scanning conditions. |
| For details: Input Settings |
| Output Settings |
| The [Output Resolution] and [Output Size] set the conditions for the output. |
| For details: Output Settings |
| Image Settings |
| The image settings turn image processing settings on or off, allow you to calibrate, and adjust exposure settings. |
| For details: Image Settings |
| Color Correction Buttons |
| These buttons can be used to make fine corrections to the image brightness and color tones. You can adjust the image's saturation and color balance (Saturation/Color Balance), brightness (Brightness) or contrast (Contrast), and adjust its highlight and shadow values (Histogram) or balance (Tone Curve). |
| For details: Color Correction Buttons |
| [Preferences] Button |
| Click this button to open the [Preferences] window, which allows you to set various scan and preview settings as well as perform a diagnostic test on the scanner. |
| For details: Preferences Window |
| [Preview] Button |
| Use this button to perform a trial scan of an item. |
| [Zoom] Button | |||||||||||
| Platen Selected in [Select Source] | |||||||||||
| Select an area in the preview area and click the [Zoom] button to have the scanner rescan the selection at a higher level of magnification. When the image is zoomed in the display, the [Zoom] button changes into the [Undo] button. Click the [Undo] button to return the display to its non-magnified state. | |||||||||||
| Film Selected in [Select Source] (Thumbnail Display Off) | |||||||||||
| Select an area in the selected frame or cropping frame and click the [Zoom] button to have the scanner rescan the selection at a higher level of magnification. When the image is magnified, the [Zoom] button changes into the [Undo] button. Click the [Undo] button to revert the image to its non-magnified state. | |||||||||||
| Film Selected in [Select Source] (Thumbnail Display On) | |||||||||||
| Click one of the frames, and then the [Zoom] button to magnify the image displayed in the window. When the image is magnified, the [Zoom] button changes into the [Undo] button. Click the [Undo] button to revert the image to its non-magnified state. You can also double-click the thumbnail to enlarge or reduce the selected image. | |||||||||||
 |
|||||||||||
|
|||||||||||
| [Scan] Button | |||||||||||||
| When you click this button, the item is scanned and the image displayed in the application program. | |||||||||||||
|
|||||||||||||
| Top |
 when
the thumbnail display is off.
when
the thumbnail display is off.