| Scanning Film with CanoScan Toolbox |
|
| You can scan film using [Copy], [Print], [Save], [Photo-1] and [Photo-2] buttons in CanoScan Toolbox. |
| Operating Procedures |
| The procedures for using CanoScan Toolbox buttons are basically the same, with the exception of the [Settings] button. For details: CanoScan Toolbox |
| Remove the protective sheet and film guide from the document cover, set film into the Film Guide, and then set the Film Guide to the document cover. | |
| For instructions, see the Quick Start Guide. |
| Close the document cover. |
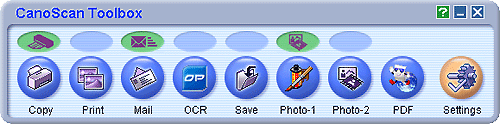
| Start CanoScan Toolbox. | ||||
|
||||
| The main window of CanoScan Toolbox is displayed. |
| Click the button for the required function. | |
| In this example, the [Save] button is used. | |
 |
|
| The [Save] window is displayed. | |
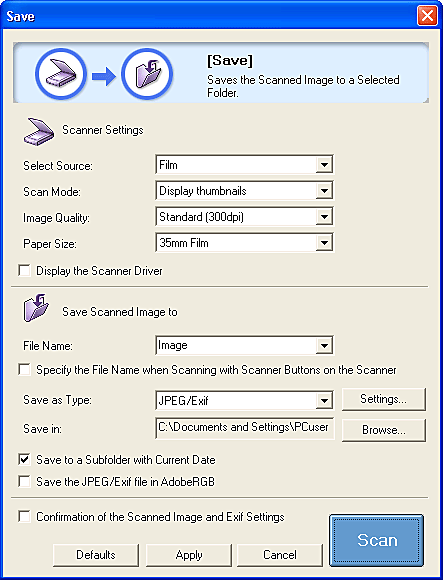 |
| Select either [Film] or [Auto mode] in [Select Source]. | |||||||||
|
|||||||||
|
|||||||||
| Set [Scan Mode]. | ||||
|
| Set [Image Quality]. | ||||||
|
| Click the [Scan] button. | |
| If you selected [Scan all frames] in [Scan Mode], all the detected frames are scanned automatically. If you selected [Display thumbnails], thumbnails for all the detected frames are displayed. |
| If using [Display thumbnails], check the frames you want to scan and click [Next]. | |
 |
|
| The selected frames are scanned. When scanning is completed, the scanned images are processed according to the function assigned to the button you pressed. |
| After the scanning is complete, remove the film strip and put the film guide and protective sheet back. |
| Top |